
The Abyss has around fifteen different locations, all which can be unlocked from simply reaching the teleport points provided. Currently, there are only five floors and counting, and the highest you can reach is 2754m at the moment. The game is continously updating, so do keep check of whenever the game updates.
Explaining the First Five Locations - [1] Abyssal Sanctum Market (0m - 18m)
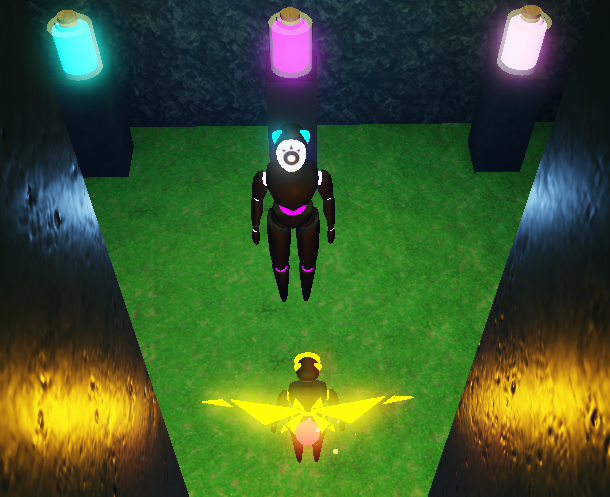
Abyssal Sanctum Market
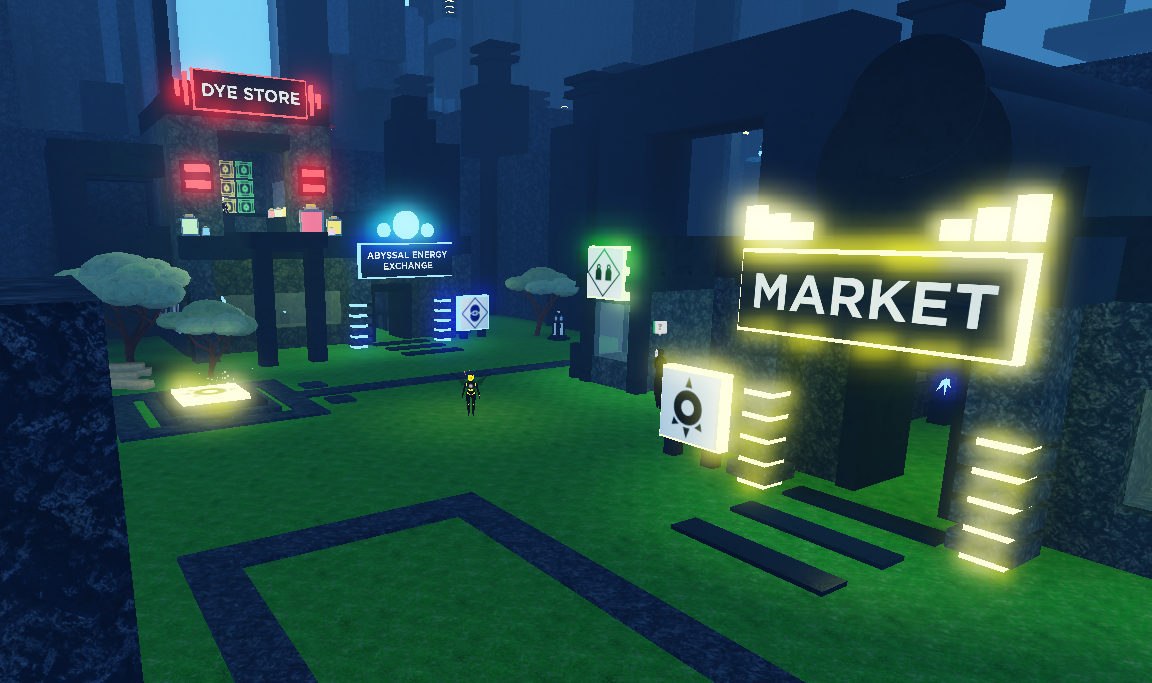
The Abyssal Sanctum Market's where it all starts. As the name says, it's where you'll get to see what the game has to offer for you. In one of the markets [i.e. yellow one named 'market'], there is a free glider wing and abyssal mask. Anything else is around 100 or 1000 AE, or Abyssal Energy. In this game, earning that much [100 AE] takes about a minute or two to get, while a thousand could take about half an hour depending on your progress. Game's quite easy to do a grindfest in, honestly. It took me around three hours to reach to 3,000 AE, though. So be wary that your AE grind can vary.
Abyssal Energy Exchange

The Abyssal Energy Exchange is where you can purchase some AE for your journey. The Abyssal who runs this market is called Eamon. In my opinion, the prices range from useless to outright ridiculous. Some of these make no sense whatsoever and has no real advantage other than you realizing you blew your robux for something you were going to have to grind for anyway. The prices are no better than low-effort simulator games that're made to cash in as much money as possible. Difference is, this was a clearly passionate game from a clearly passionate creator, so I don't have as much ill will for such decisions like these. But still...
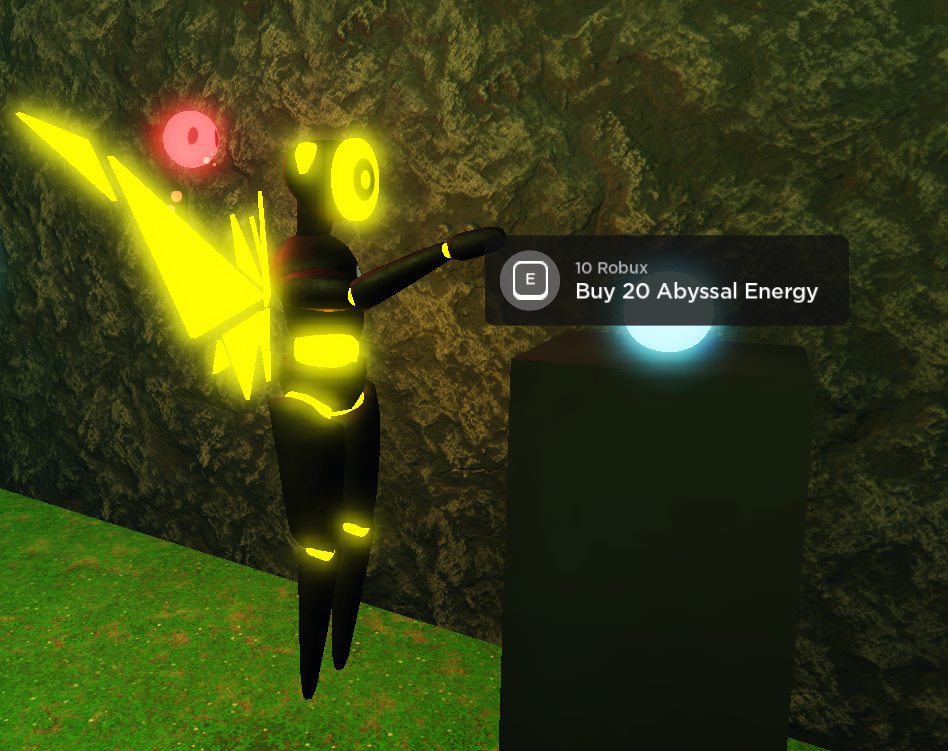
HOW DID THE CREATOR NOT LOOK AT THIS AND GO "WHY AM I PRICING 10 ROBUX FOR SOMETHING THAT TAKES LIKE FIVE SECONDS TO ACHIEVE"? HOW DID THE CREATOR THINK THIS WAS A GREAT IDEA? THIS IS A COMPLETELY USELESS PAYWALL AND I WON'T BE SURPRISED IF IT'S STILL THERE IN THE NEXT UPDATE ARGHHHHHHHHHHHH-
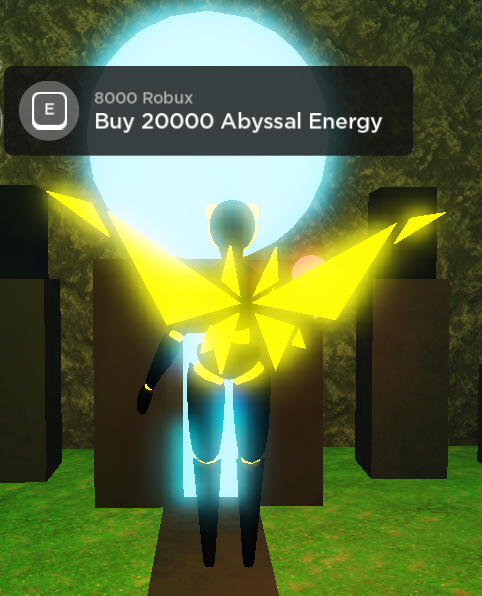
Not to MENTIONNNN the most expensive gamepass in the game is 8,000 robux. EIGHT. THOUSAND. For 20,000 AE. That should NOT be that high! Who's going to spend that much on a game that's still yet to be finished? No one's going to blow this much robux on some upgrades that'll really lead to nothing in the end (considering the rest of floor 5 has YET to actually be MADE.). I seriously do not know what the creator was thinking when they were thinking of these prices. Unnecessary prices (10 robux for 20 AE) and absurdly high prices (8000 robux for 20000 AE) that would make even Loleris quake. At least he was sort of reasonable with his prices. This is not reasonable at ALL.
At least the gamepasses feel fair.
Dye Store
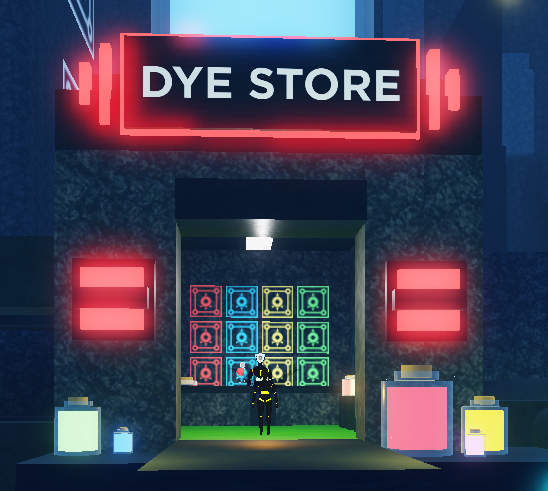
The Dye Store is where you can customize the colors of your Abyssal Watcher. The Abyssal who runs this market is called Manus. There are four colors; Red, Green, Yellow, and Blue.

Each color is worth 100 AE. After purchasing it, you can freely change back to whatever color you feel fit best for you more.
Explaining the First Five Locations - [2] Beginner's Grotto (18m - 73m)
Nothing much to say about this one. Just the humble beginnings for your journey.
Oh yeah, and it's also the same area where you'll find your first 'echo', which is something you crucially need if you're wanting to get to the other floors.

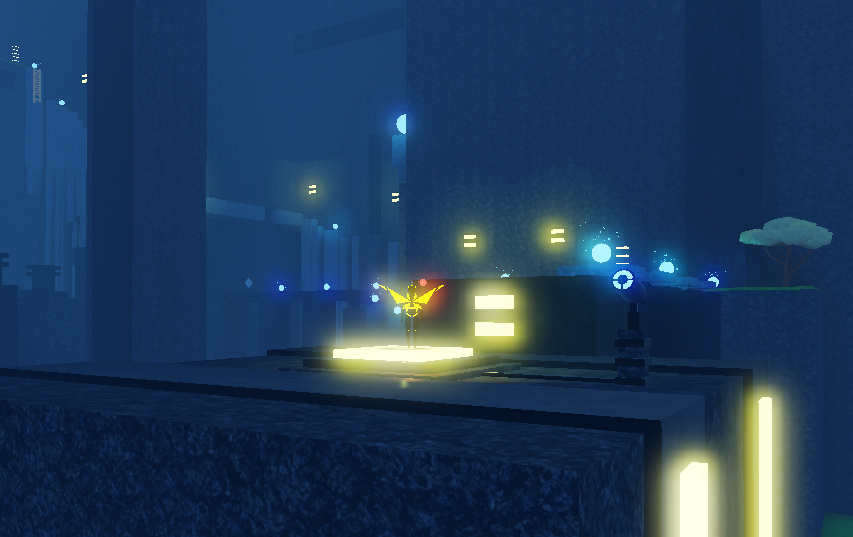
By the time you're near the next location point, you'll meet another Abyssal Watcher named Lawson. They are sort of helpful for people who were not aware of the icon (shown near him) prior. The icon represents "two players", so whenever you see this, it means that obstacle WILL require two players in order to use it efficiently. There is also a "Glow Jar" (thats what im calling it lol) near Lawson, too, if you wish to change your watcher's color to a nice, pleasant orange. :>
Explaining the First Five Locations - [3] Sanctum Overlook (73m - 127m)

This is where things get a bit interesting from here on out.

For example, there's a "hidden" area in this part of the overlook, where you can have a teal-colored Abyssal Watcher for a decent 800 AE. This ain't the last one, so keep a scrollin' in this page to find out the other ones! Other than that, there's nothing much else here.

Explaining the First Five Locations - [4] The First Gate (127m - 169m)
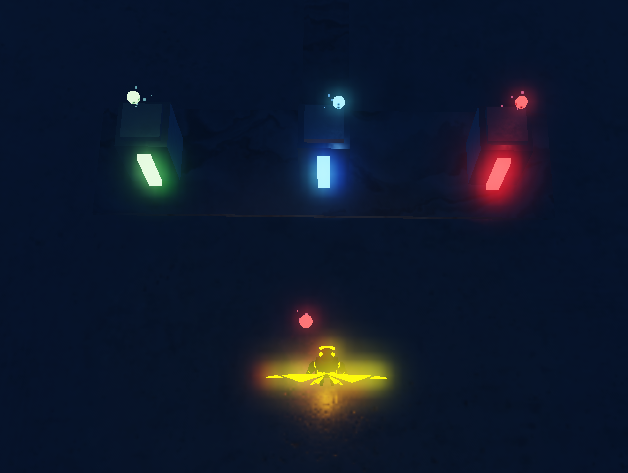
Congrats, you've made it to the first gate! This is also the same area where you can earn ANOTHER echo and earn your first witness, a character that'll help make your journey a bit less trivial. Also this section's probably the longest, so do be prepared for lots of reading.
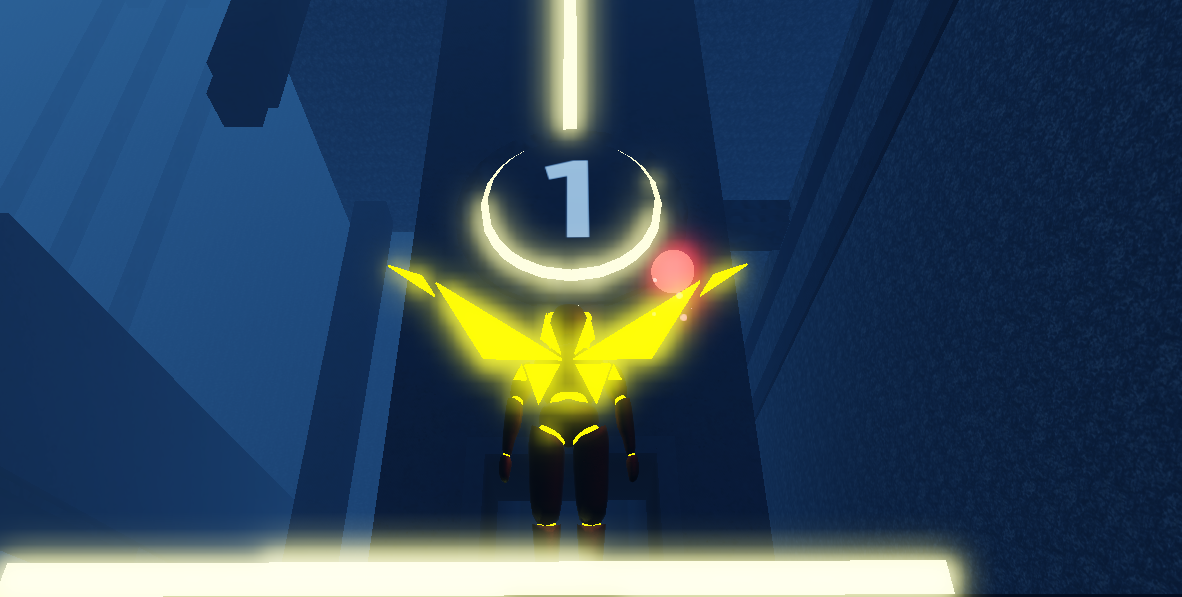
You have three witnesses to choose from. Each witness has three levels, all which can be unlocked from collecting AE. The more AE you collect, the higher the level your witness will get. Higher levels ensure unlockable abilities that'll help provide you in your journey. There are three kinds of levels; 10, 100, and 1000. You can only pick one, and the first witness you choose is free. Any other witness you wish to get requires having an astonishing 3999 AE if you wish to purchase one. This goes for all the witnesses you'll see in the markets as you continue forward. Yes, I know, bogus pricing. Should at least be around 1500 or 2000, honestly.
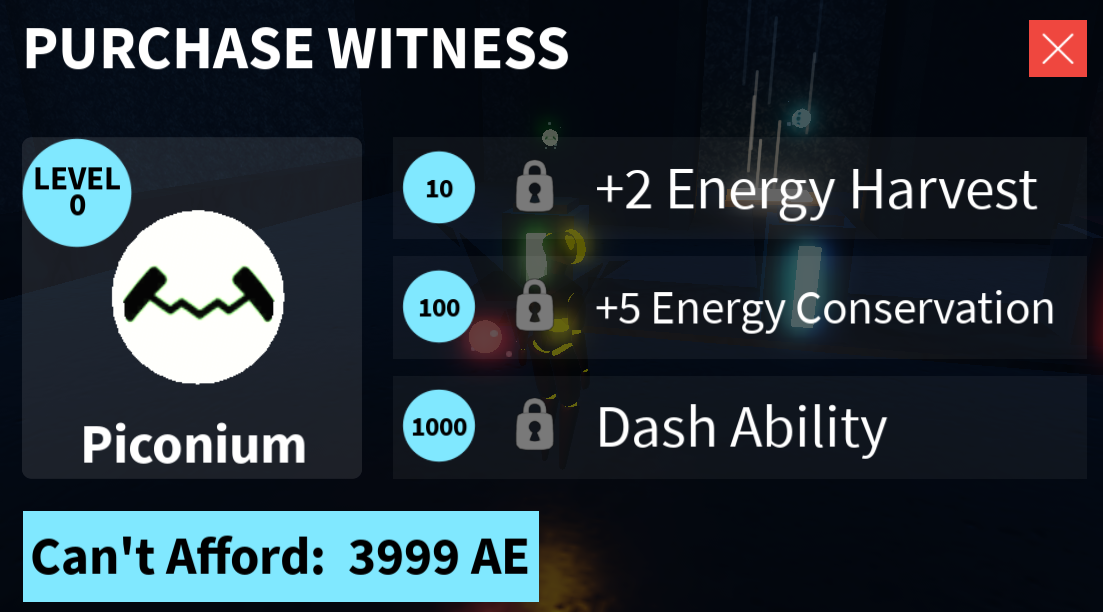
The first witness is called the Piconum (Green Witness). Piconum's are great for Abyss Watchers who prefer keeping their energies in tact. On level 10, you will earn a +2 Energy Harvest, which gives you more energy than the normal account (10 AE). On level 100, you will earn +5 Energy Conservation, allowing you to save more energy if you ever used the Time Reversal ability. On level 1000, you'll earn the dash ability, which is very benefitial in terms of allowing you to get to areas quicker ((especially since your character's already slow enough to begin with lol)). Highly reccomend for watchers who prefer conserving their AE and wish to get through areas quicker.
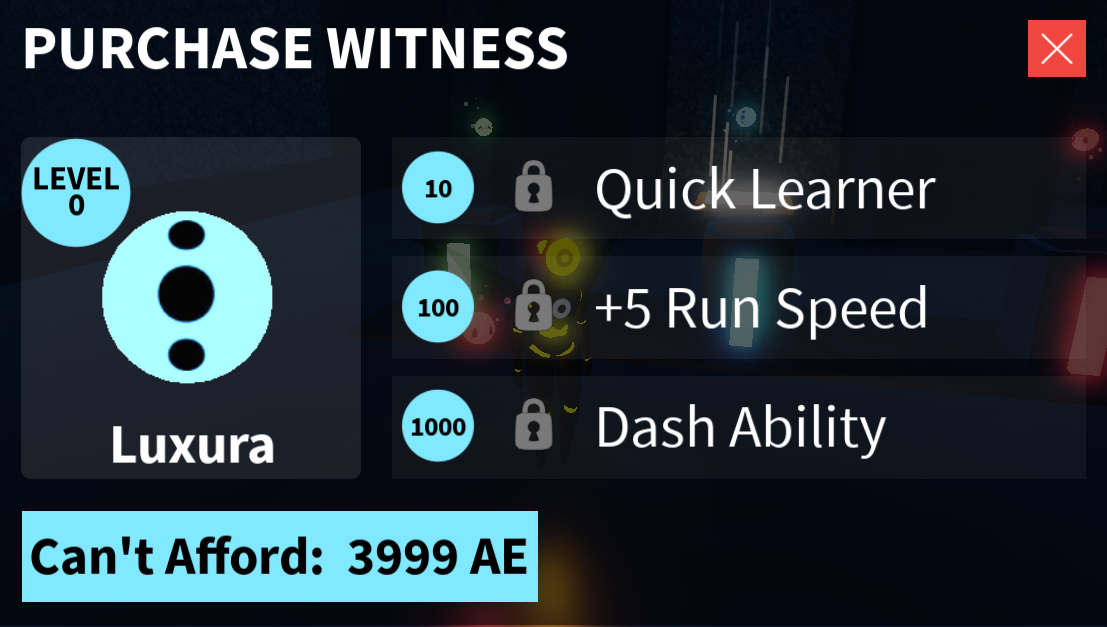
The second witness is called the Luxura (Blue Witness). Luxura's, unlike Piconum, focus more on speed than conservation, as proven from the abilities shown on the right. This witness is great for Abyss Watchers who really want to speed through the obstacles without worrying about their slow-as-heck watcher get from A to B. On level 10, you will earn the "Quick Learner" ability. This is a pretty great ability, as it allows for your witness to level up faster. Great if you want to reach to the other abilities faster. On level 100, you will earn 5+ run speed, which is already has heavy advantages compared to the Piconum's dash ability. On level 1000, you will earn the dash ability, same as from the Piconum. Difference is, you have a mixture of 5+ run speed AND the dash ability, which allows you for more speed than the Piconum by a great shot! Highly reccomend for watchers who wish to get through courses faster (or wish to attempt a speedrun with lol).
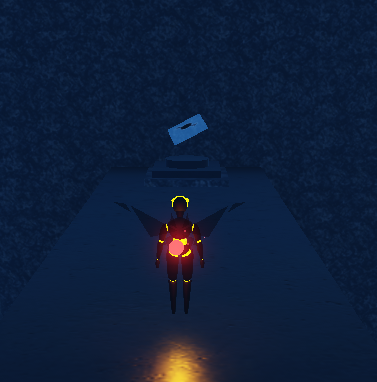
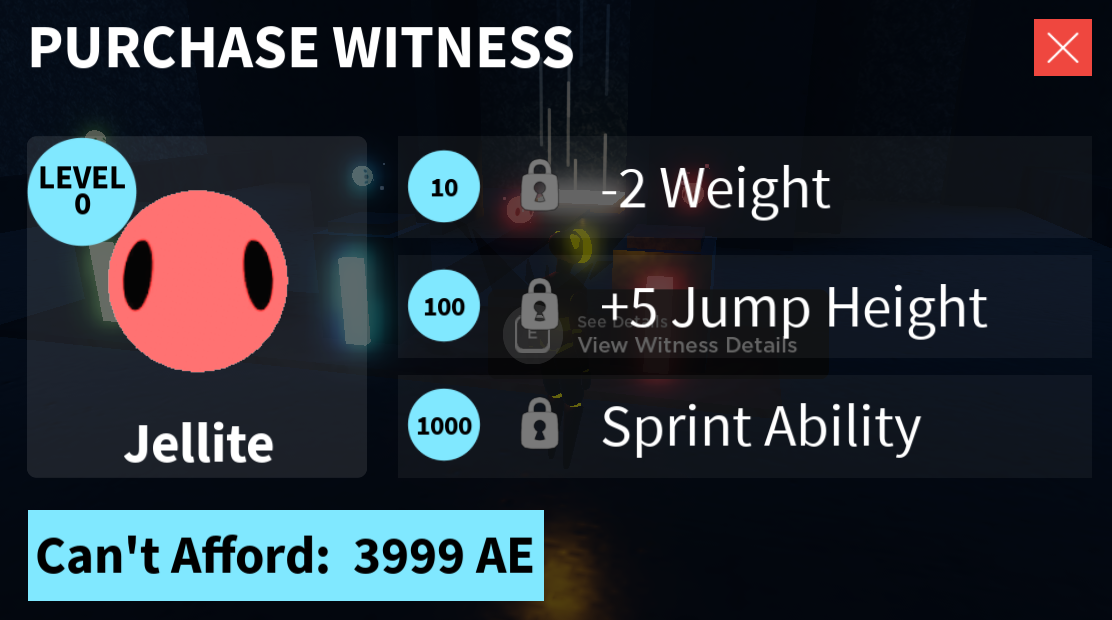
The final witness is called the Jellite (Red Witness), the one I'm currently equipped with at the moment. In my opinion, I feel Jellite's are the weakest witness for new players to choose. The abilites don't feel as advantageous compared to the Piconum's energy conservation ability and the Luxura's 5+ run speed / dash ability combo. You hardly notice any differences as you level up! Maybe that's a me issue. I don't know. On level 10, you will earn -2 weight, which, again, is an ability you hardly even notice. On level 100, you will earn the +5 jump height ability. Pretty decent ability, but still wouldn't give you an advantage in trying to solo in an obstacle that requires two players. Sorry. On level 1000, you will earn the sprint ability, which is an ability I haven't gotten to yet, but I can assume it's an ability that allows for faster speed; Similar to the Piconum's and Luxura's dash abilities. I'll add in an update once I get the ability.
So how would I rate these? I don't like rating things, and each Witness may treat you better or worse than you may expect. If it helps you, it helps you. If it doesn't, it doesn't. That's the beauty of variety. Other than that, you won't be able to buy additional witnesses until you're in the Witness Store at Plinko Overlook. This is where we'll end for this floor as we head onto the final location of the first five...
Explaining the First Five Locations - [5] Floor 2 Ascent (169m - 287m)
You've completed the first floor. Not really. You're just at the ascent. Ascent means halfway marks. So you're halfway to the second floor. Here you'll experience longer obstacles, more shops to customize your watcher a bit more, and some more witnesses to buy! THAT YOU TOTALLY DON'T NEED TO GRIND FOR EACH TIME UNLESS YOU'RE WILLING TO SPEND HUNDREDS OF ROBUX ON SOME AE HAHAHAGNJRNHJTRNHJ

In the first Dye Store in this floor will you meet Dyemon, the watcher who owns the store. This one is different with its colors, as you can now choose between teal, pink, and (sort of) white. The prices are now increased, with the required AE to purchase these colors being at a steep price of 400 AE, a 300+ increase from the ones you could purchase back in the Abyssal Sanctum Market.
We're finally finished with the first five locations! As we continue further will we see more opportunities in growing your witnesses and customizing your watcher! Welcome to...
Explaining the Next Five Locations - [6] Plinko Overlook (287m - 287m)

Plinko Overlook's the only location in the game that doesn't have an increase m(meter), staying the same 287m from when you start at it to when you end from it (Witness Store). It's also one of the few locations that has a telescope that lets you view your "objective" to reach to the next [second] floor and has the shortest distance between it and the next location.

Here, you'll also meet Navi wait a second that name sounds famiilar lol HMMMMMMMMnm...., a watcher who specializes in Team Challenge rooms; Rooms that requires two players in order for it to be completed, with a speculative reward for completing it. I play solo, so I don't know the reward.
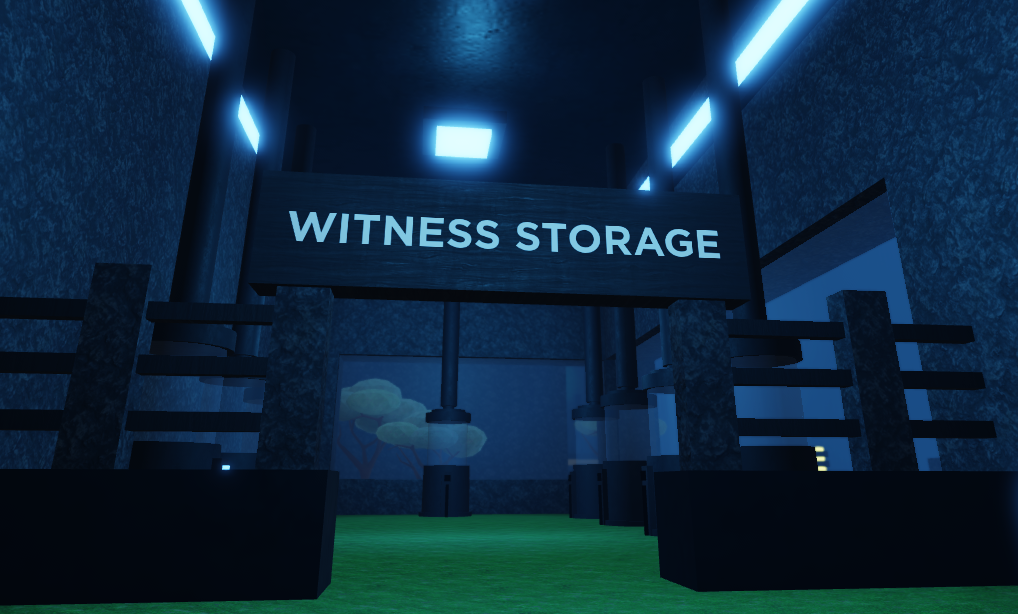
Explaining the Next Five Locations - [7] Witness Store (287m - 287m)
Another pretty long and extensive section. Be warned.
The Witness Store's what you expect. A store to buy some witnesses. You probably already got the gist of what a witness is, what they do, and how they help you advance throughout your current and post-completion journey.
As I said in the earlier locations, the higher you are, the chances you'll run into a witness store that'll sell even BETTER witnesses than the last ones, and this store's surely an example of that! You can also change your witnesses color and "mask". This is one heck of an extensive section, so let's hurry and get through the quicker things first before we move onto the witnesses.

This is Laputa, the watcher who sells the witnesses at the Witness Shop near Plinko Overlook. They bring up that, "Once a day, we have new witnesses. They show up at the same time as the Abyssal Energy Orbs generate."
Keep watch of what they said at the last sentence.
If you ever see the Abyssal Energy Orbs you grabbed appear once again, then it also means the witnesses in the shop has been replaced by newer ones. This is important to keep track of, especially if you ever encounter a witness whose abilities you feel may help you out more than any other one.
Be advised that a witness may take a good while to return back to the Witness Store once it gets replaced. Make SURE you're remembering to get the witness that you need. Please.

This is the Witness Mentor. They specialize in witness studies and knowledge, and provides assistance (okay not really just moreso just telling the player what a witness is and what they do lol) for young Abyssal Watchers who may not know how their witness functions, how they can use their abilities, or what to do if they ever lost their witness(es). Nothing much else can be said for them except I really like them.

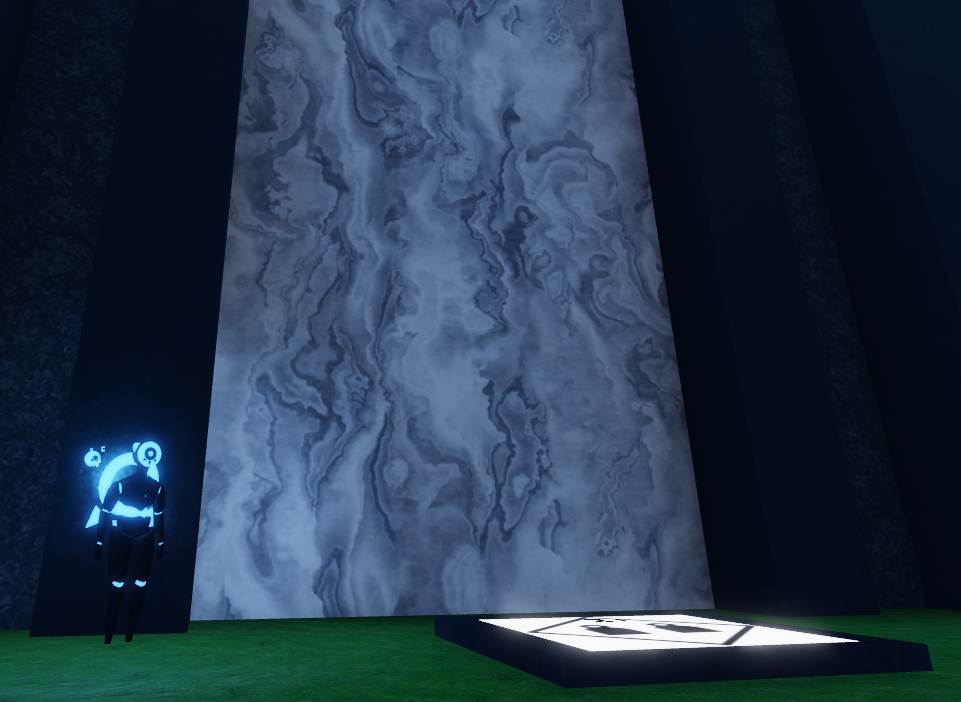
Next is the Witness Storage, an area in the Witness Store where you can store up to NINE witnesses. Very useful if you wish to replace your witness with another one in the meantime. The first two storages (the ones you see lit up) are the only availiable ones. Anything else either requires a certain number of AE or robux.
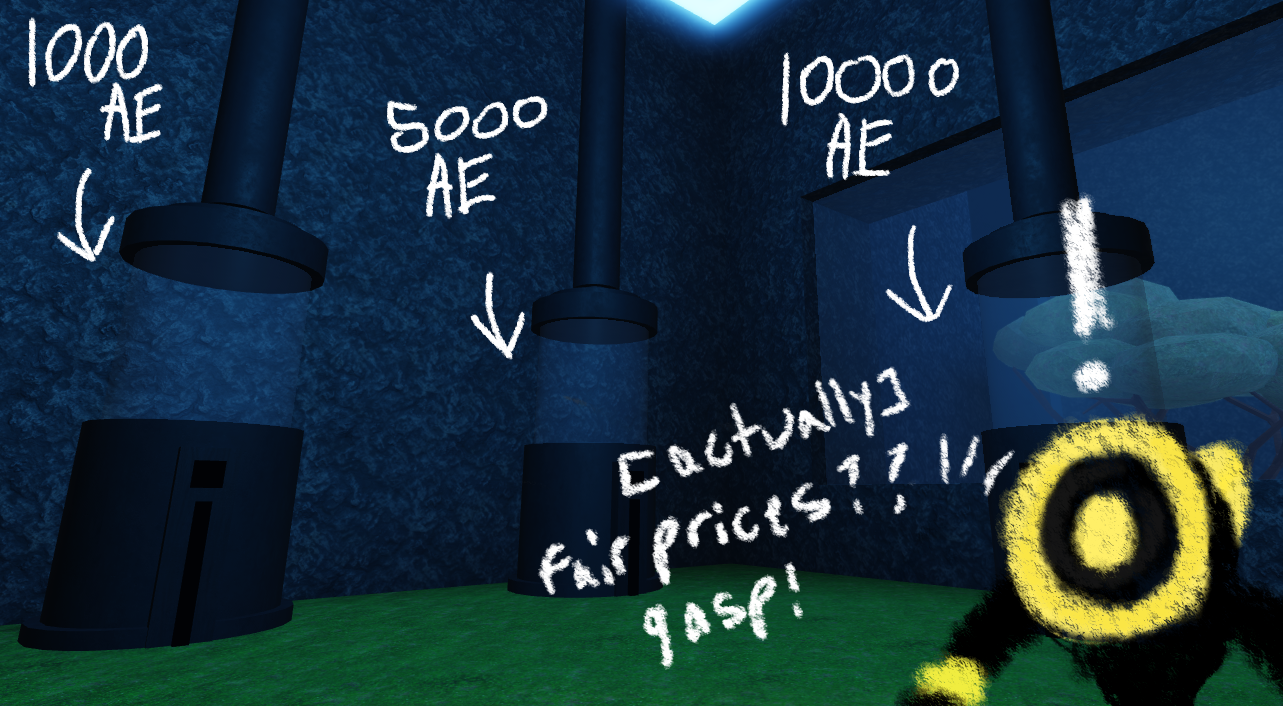
On the left side of the Witness Storage room is where the storages require AE to unlock. As shown in the example image, the third storage costs 1000 AE, the fourth costs 5000 AE, and fifth storage costs 10,000 AE. Somewhat actually reasonable prices. GASP!!!!!
On the right side of the Witness Storage room, you can unlock storages via robux. I personally believe these also should've required AE, but if it did, the creator(s) would've probably made it at 20,000 or 30,000 AE. That would've been a great way to convince someone to spend 8,000 robux, though. Hah.

You're also able to sell your witness, and the price you'll get back depends on the level of your Witness. Since my witness level's at 674, if I ever were to sell it, I would get back a large payment of 4696 AE, which is great in terms of getting faster AE if you don't wish to grind (as much) or spend an egregious amount of robux on the game.

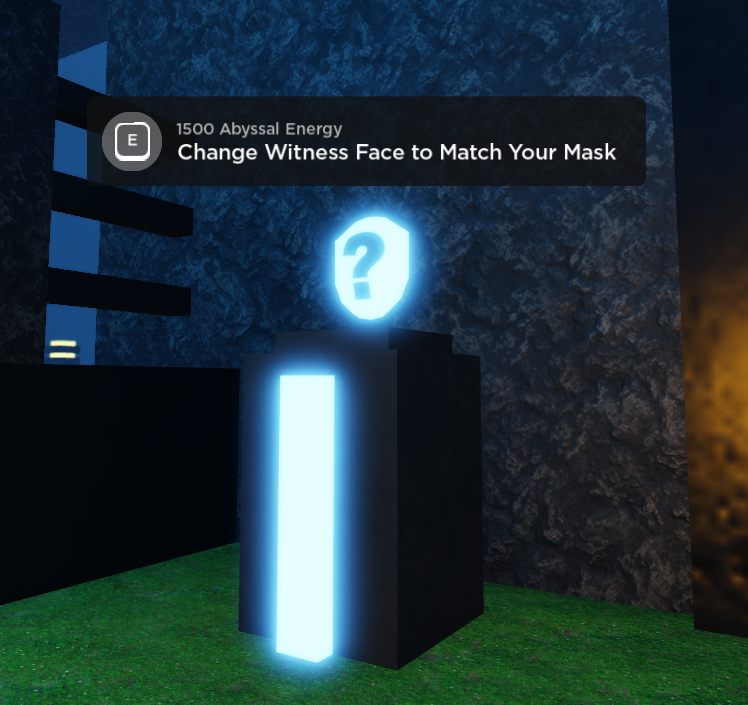
Need their color changed to yours or have their face be like yours? These two areas are freely availiable and you can achieve this prospect for only 1500 AE. Both of them cost the same.

And now... finally, onto the witnesses!
((note: as explained above, the witnesses change in the witness shop every time the abyssal energy orbs regenerate. so the witnesses i bring up in this section may NOT be there if you ever encounter the store.))
To begin, we're starting off with Geminara (Pink Witness). Geminara's are similar to Luxura's in terms of its Quick Learning ability. It also has a similar 5+ jump height ability to that of the Jellite. Other than that, its primary difference is its -9 weight ability at level 1000.
This ability provides low weight for the watcher, letting them [hypothetically, I have not found this out myself yet.] jump through areas that requires two players. This witness already has a larger advantage than of Jellite's height abilities. It's also similar to Luxura's combo methods (+5 run speed and dash ability) with it having a combination of the +5 jump height and the -9 weight ability. I'm already seeing this as being a needed witness if you wish to jump through even higher heights than you could from your Jellite witness.

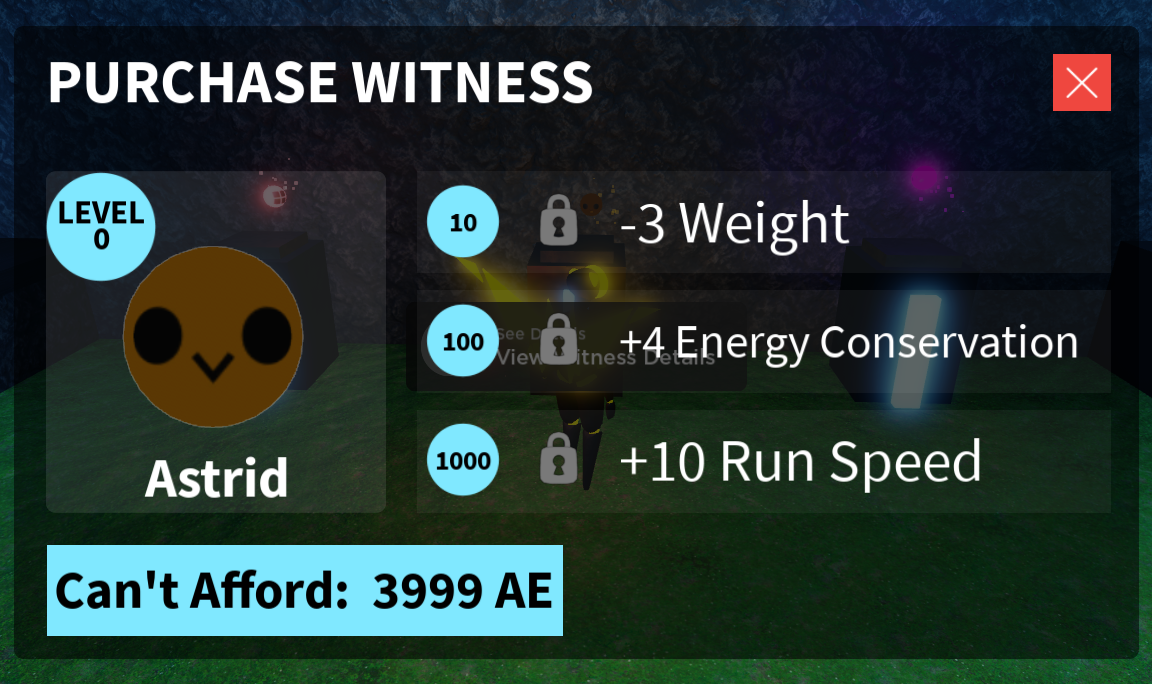
Next is the Astrid (Brown Witness). Already this witness has a prominent start, with the watcher already earning -3 weight at only level 10 alone. At level 100, the watcher will earn 4+ Energy Conservation, which is surprisingly lower than the Piconum's +5 Energy Conservation.
But the -1 energy conservation balances itself out with the level 1000 ability, +10 Run Speed. With 10+ run speed, this witness has a bigger speed ability usage compared to the first three witnesses abilites (Dash Ability for the Piconum and Luxura; Sprint Ability for the Jellite). This witness is greatly reccomended for the ultimate speed boosts. At least, for now if we ever encounter a witness that provides higher speed.
Finally, we have Amethysta (Hot Pink Witness).
